essential care tips for beginner daylily enthusiasts
Daylilies are beloved for their stunning blooms and resilience, making them an ideal choice for beginner gardeners. Known for their wide variety of colours and shapes, these perennial flowers can bring vibrant life to any garden. In this article, we'll explore essential care tips that will help you cultivate beautiful daylilies with ease.
Choosing the Right Variety
Daylilies come in thousands of varieties, and selecting the right one can greatly impact your gardening experience. Beginners should consider starting with hardy varieties like 'Stella de Oro' or 'Happy Returns', which are known for their consistent blooms and adaptability. It is beneficial to check your local climate zones, as some varieties perform better in certain conditions.
Optimal Planting Conditions
Daylilies thrive in well-drained soil with plenty of organic matter. When planting, choose a location that receives at least six hours of sunlight daily. Prepare the bed by loosening the soil and mixing in compost to enhance drainage and provide nutrients. It is advisable to plant daylilies in early spring or late summer, allowing them time to establish roots before harsher weather arrives.
People Also Look For:
- Iris 1955 Daylilies (Classic Reprint)
- Small and Miniature Daylilies
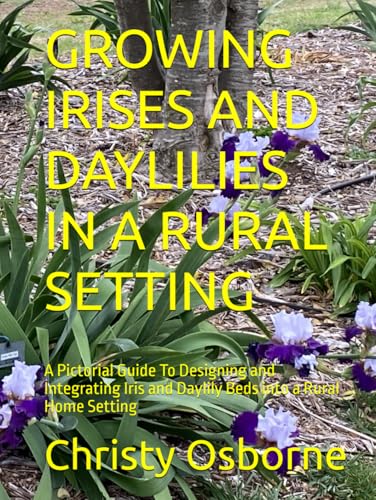
- GROWING IRISES AND DAYLILIES IN A RURAL SETTING: A Pictorial Guide To Designing and Integrating Iris and Daylily Beds into a Rural...
- Daylilies for the Garden
- Journal with Yellow Daylilies on Cover 6x9: Interior Pages Decorated with Light Floral Accent
Watering Techniques
Daylilies require regular watering, particularly in their first year of growth. Aim to water them deeply once a week, ensuring the soil remains moist but not soggy. During hotter months, you may need to increase the frequency. Using a soaker hose or drip irrigation system can help maintain consistent moisture levels without over-saturating the soil.
Fertilisers and Nutrients
To encourage vibrant blooms and healthy growth, apply a balanced fertiliser in early spring, just as new growth begins. A slow-release fertiliser with equal parts nitrogen, phosphorus, and potassium is ideal. Avoid over-fertilising, as this can lead to lush foliage at the expense of flowers. A second application can be made mid-summer if necessary.
Pest and Disease Management
While daylilies are generally robust, they can fall victim to pests such as aphids, spider mites, and slugs. Regular inspection of your plants can help you catch infestations early. Introduce beneficial insects, such as ladybirds, to naturally control pest populations. For fungal diseases like rust or leaf spot, ensure proper air circulation by spacing your plants appropriately and removing any affected leaves promptly.
Dividing and Propagating Daylilies
As your daylilies grow, they may become crowded, leading to reduced blooms. Dividing your plants every three to four years will rejuvenate them and encourage more prolific flowering. The best time to divide is in early spring or late summer. Gently lift the plant from the ground, separating the roots into smaller sections. Replant immediately to minimise shock.
Winter Care
Daylilies are generally hardy, but providing some winter protection can enhance their survival. After the first frost, trim back the foliage to about six inches above the ground. This helps prevent disease while protecting the crown. Applying a layer of mulch can also shield the roots from freezing temperatures and conserve moisture.
Enjoying Your Blooms
One of the joys of growing daylilies is their long blooming period, which can last from early summer to late summer, depending on the variety. To prolong flowering, regularly deadhead spent blooms to encourage new growth. Consider planting daylilies alongside other perennials that bloom at different times, providing a continuous display of colour throughout the season.